Hole-by-hole guide: How Rory McIlroy carded a 73 in his final round to end +4 overall at the Masters
and live on Freeview channel 276
McIlroy started the final round at +3 and was paired alongside Joaquin Niemann.
Here is a hole-by-hole guide from his final round.
HOLE ONE: McIlroy's approach into the first presents problems as the ball rolls off the green. Rory is unable to get up and down for a four as he moves to +4. BOGEY.
Advertisement
Hide AdAdvertisement
Hide Ad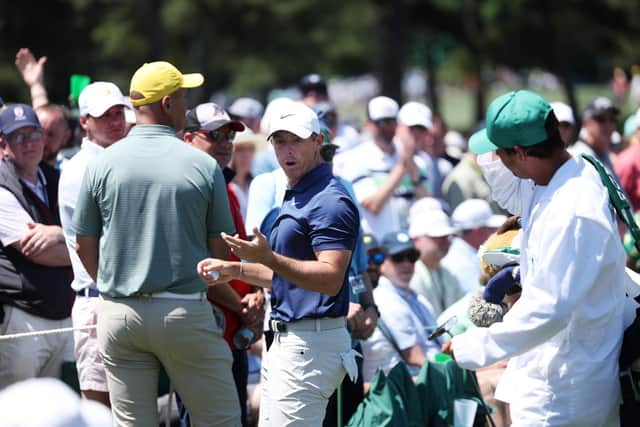

HOLE TWO: Unforgivable by McIlroy as he somehow fails to make in-roads after landing near the pin at the par 5 in two strokes. The putter fails to work as he only manages a 5. PAR.
HOLE THREE: McIlroy is let down by his chip into the green which fails to land on the putting surface. Thankfully, he is able to get up and down for a 4. PAR.
HOLE FOUR: An iron shot into the par 3 lands near the back of the green with McIlroy unable to convert for birdie. PAR.
HOLE FIVE: “Fore right” shouts McIlroy after his tee shot but he is able to reach the green in two as a birdie putt goes awry. PAR.
Advertisement
Hide AdAdvertisement
Hide AdHOLE SIX: McIlroy’s tee-shot lands nowhere near the pin at the par 3 but he manages to two-putt to not drop any strokes. PAR.
HOLE SEVEN: So close to a birdie for Rory at the par 4 as he was on the edge of the green in two. A chance to go back to +3 would just go amiss. PAR.
HOLE EIGHT: Two great shots in the par 5 gives McIlroy a chance for eagle but the first putt doesn’t even go close. However, he sinks the following effort to move to +3. BIRDIE.
HOLE NINE: A great end to the front nine from McIlroy as a cracking drive is followed-up by an approach to the green. The putter works its magic for back-to-back gains. BIRDIE.
Advertisement
Hide AdAdvertisement
Hide AdHOLE TEN: The back nine would start horribly for McIlroy as he finds the greenside bunker with his second and he’s unable to get up and down for his 4. BOGEY.
HOLE ELEVEN: An approach into the par 4 lands short but McIlroy hits a delightful chip, meaning he is able to make a save to remain +3. PAR.
HOLE TWELVE: A lovely shot into the famous par 3 gives McIlroy an outside chance of birdie but he just misses. PAR.
HOLE THIRTEEN: Rory’s approach is “miles away” from what he was trying to do says Butch Harmon on Sky. Rory then four putts on the green for a disappointing 6. BOGEY.
Advertisement
Hide AdAdvertisement
Hide AdHOLE FOURTEEN: McIlroy wouldn’t reward a stunning tee-shot as his second fails to stay on the green. To his credit, Rory hits a lovely putt up the hill and beside the pin. PAR.
HOLE FIFTEEN: A lengthy drive and then approach sees McIlroy attack the par 5. A delightful chip and run results in a 4 to go back to +3. BIRDIE.
HOLE SIXTEEN: A great approach into the par 3 leaves McIlroy a 15ft putt for a birdie, but unfortunately for the Holywood native it doesn’t find the cup. PAR.
HOLE SEVENTEEN: McIlroy drives the ball left and his second shot goes to the right of the green. He’s unable to get up and down and moves to +4. BOGEY.
HOLE EIGHTEEN: A great putt by McIlroy saves a four at the last. PAR.
Comment Guidelines
National World encourages reader discussion on our stories. User feedback, insights and back-and-forth exchanges add a rich layer of context to reporting. Please review our Community Guidelines before commenting.